Wednesday 26 January 2011

Extra Bits of Modelling

Our opening shot shows part of the garden of Summers home, this means we have to model the garden and fill it with props and other assets to make it look believable. I started by the most basic means available and used a flat plane as the ground and placed it under the tree. I then started to model a wooden fence which I referenced from the fencing in my garden. The fence is made up of diffent panels which are constructed from approximately 20 wooden planks (each panel had a different amount of planks) and then a sturdy wooden post.


Above shows an example of one of the fence panels that help make up the garden fence as a whole. 


I duplicated the fence panel and then merged the vertices so that it creates a double panel as one poly object. I repeated this to make up the shape of the fence so I could then create the borders of the garden and help define the space.


I started adding further details to the tree and treehouse as well. I adjusted the shape of the tree base and refined it to make it more smooth and organic. I also started to make a wooden step ladder which leads up from the ground to the treehouse which will be complete within the next two days.

Thursday 20 January 2011

Booleans

The part where the treehouse is built around the tree needs to look convincing and real so I have to make sure it looks like it has been constructed properly. I firstly wanted to use the boolean tool to cut the shape  of the tree from the corner of the treehouse, but when I tried using it both the tree and the treehouse completely disappeared, I repeatedly tried it and even reset Maya in case it was a weird bug but I still had no success. I started researching online why I was having this problem and found out the reason was because if one object has a significantly higher/lower poly count than the other object, then Maya cannot calculate the differences in faces and edges to accurately cut away the desired shape. So the tree has a much higher poly count than the treehouse which is why it wasn't working. 

To solve this I could make a low poly tree and then shape the new edges of the treehouse once the corner is cut away, or I could just dive right in and manually cut away the area I don't need by using the boolean tool and cube shapes, this way I will have 2 objects with equal poly count and will be able to replicate the wooden planks shape.


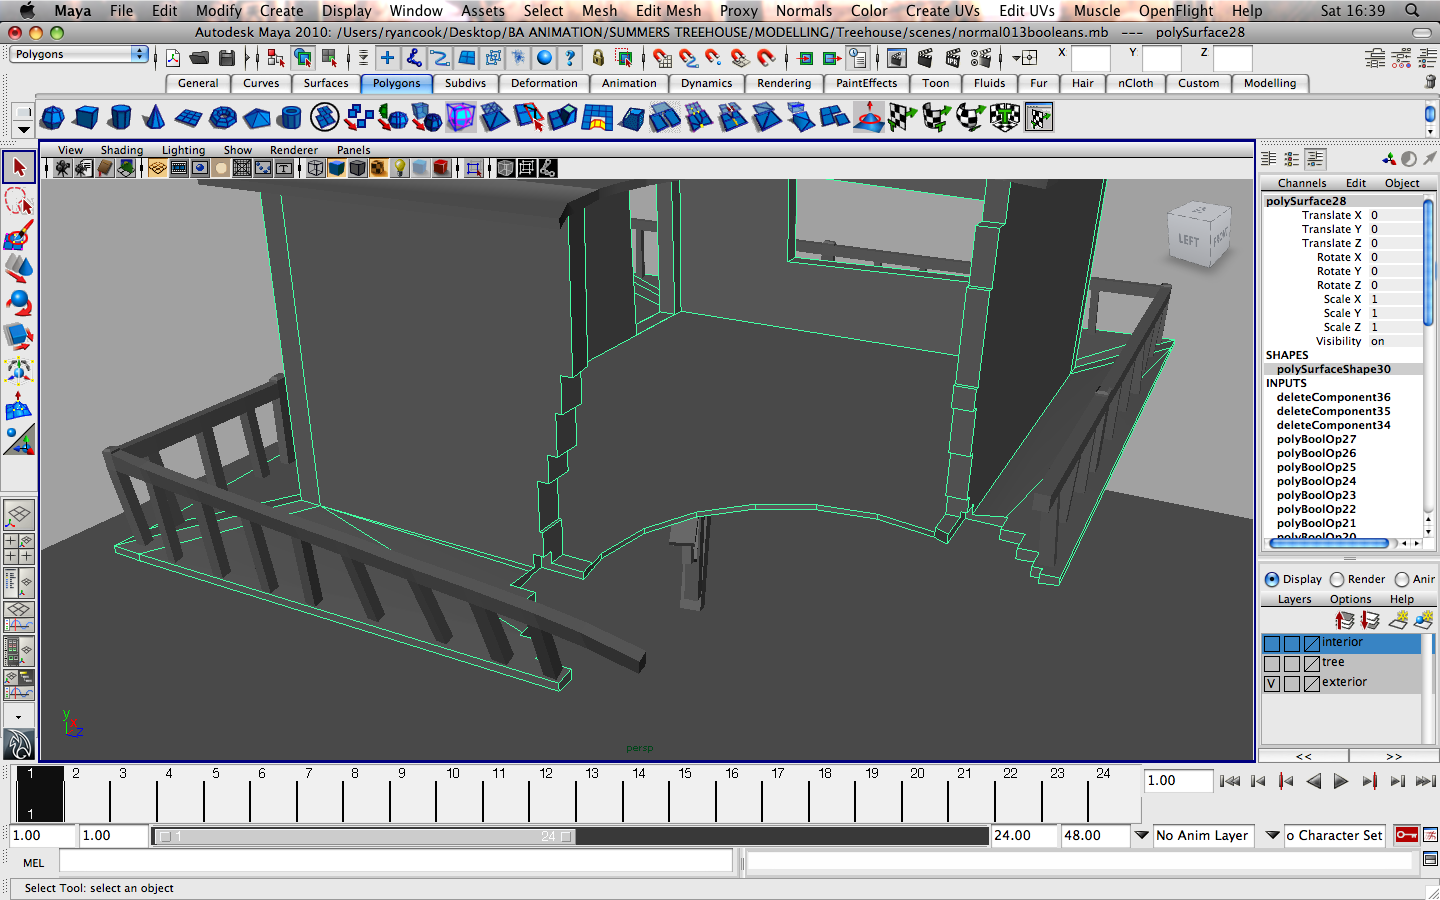
The screen above shows how I was using a cube with the Boolean tool to cut away the shapes I wanted for where the tree would be. Also note that the railing is bent to show how the tree has grown and slowly pushed it out over time.


Above shows the rough cut out shape for where the tree will be positioned, it still needs a bit of tweaking  and some of the edges that were generated by Maya can be deleted as they are not needed.


The shapes of some of the planks are not quite how I want them to be on the roof so I need to adjust the vertices of some of the corners to align them in the right way.


THis shows the tree now in the scene, and I have to say that i really dont like it. Only now can I see how the treehouse looks properly  and all of the area where I performed the Boolean operation looks too jagged and rough. I'll need to make it look as though there are less cuts in the treehouse and try to give it a more blocky feel to that area.


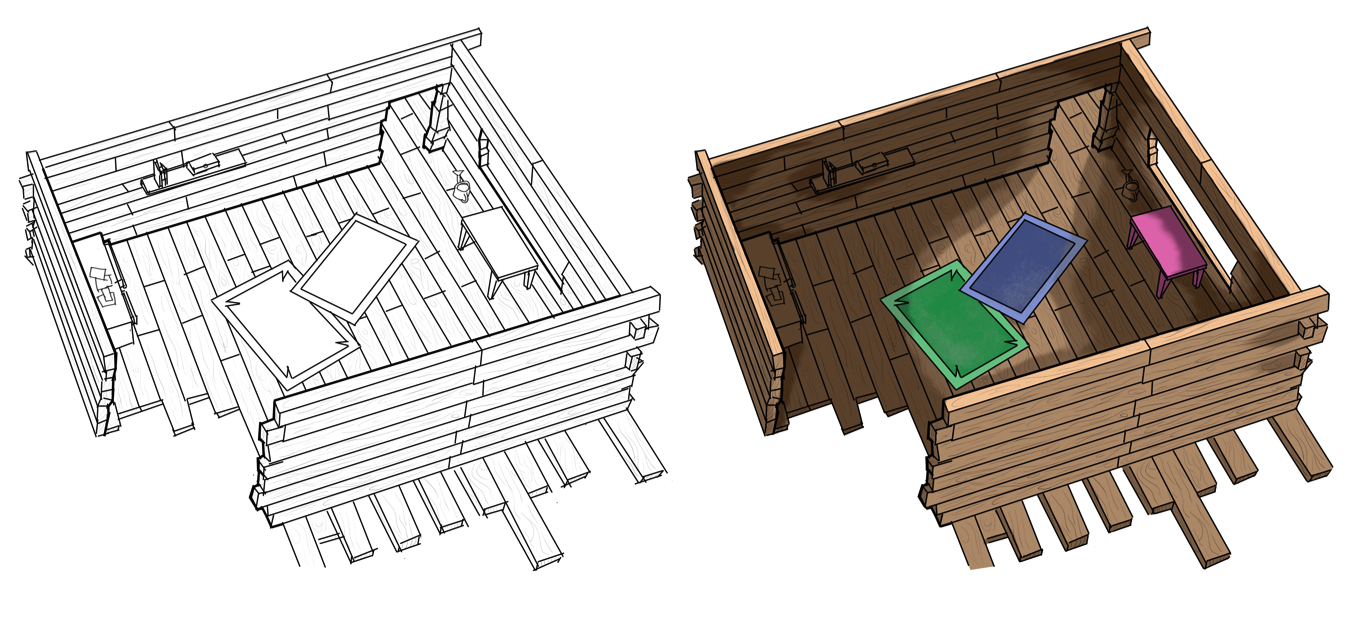
This is the exterior at the back of the house, I can leave this how it is as it will not be in any of the shots from this angle, when it comes to the rendering stage I will go through and delete all the faces that are not in shot to help speed up render time and keep our file sizes as small as possible.

Sunday 16 January 2011

Modelling Development

I had the main shape of the tree and treehouse sorted, now all I have to do is go in and add the details that bring it to life and make it look more believable as an environment set piece. 


I started by making some branches in the same way that I made the tree trunk, I knew that i would need at least one strong looking branch to support the treehouse so I made sure to position it in a spot where it would realistically be able to hold a lot of the weight. I also built the roof for the treehouse, i made it so it hangs over slightly which in reality would be so rain can run off of it. I even went as far as to put in some structural support underneath the house by adding in some wooden planks, this has made it look at lot more safe looks as though it has been constructed by a somewhat amateurish craftsman which is what I was aiming for.


I began modelling a railling to go around the walkway of the house, this was also modelled similar to the treehouse by making a cube and adding edge loops to create more faces which I could extrude to make the wooden posts. I purposely offset them so that they are not all straight and uniformed in a line as the whole scene and environment is meant to look a little "off" and distorted to match Karens visual style that we're trying to achieve. The main thing I started to worry about whilst modelling was how the UV mapping would turn out, I'm not the most experienced when it comes to UV mapping and I'm a little worried that complex shapes will cause problems for me, I'll need to get in plenty of practice like I did for the professional skills unit with Dan to make sure that i'm confident enough to do it without having any issues or problems.


I originally put the roof as a flat square object, but i thought that even though it will only be seen in the opening shot it wouldn't need a lot of detail, however I thought that if I shaped the edges so that it looks like wood planks then it might help cast some interesting looking shadows with the lighting rather than just a long straight edged shadow. I shaped the roof by inserting edge loops again and moving the vertices accordingly to look like each plank is of a different size and that they are arranged in a slightly messy order.

Tuesday 11 January 2011

Modelling Begins - Treehouse Exterior

Today I started modelling the exterior of the treehouse. It's the first piece of modelling I've done in a very long time and it feels great to be back on it.


I started modelling the treehouse itself by creating a cube, making it thin and flat almost like a wall or fence, I then added edge loops and extruded the faces to create the other walls, floor and the walkway outside the house. I made the door and window by creating seperate cubes and shaping them how I needed them, I then placed them where the door and window are on the house and used the 'Boolean' tool to cut the shape out of the house helping to give the house a very clean and tidy mesh without having extra lines used for modelling a door and window into the treehouse geometry itself. 


I made the rough shape for the tree by creating a cylinder and inserting lots of edge loops around the height of the shape, I then selected the vertices from the edge loops I made and started to manually sculpt the shape of the tree, trying to give it a rounded and exaggerated curve to it to reinforce the natural organic feel of it. I took a lot of inspiration from the following picture which is a pice of concept from the 'Open Season' art book.


It is important not to make the tree look too curved and exaggerated though as it may break too far away from the sense of reality we want to keep in the animation as well so I have to make sure that I find the right balance.

Thursday 6 January 2011

Floor Plan/Interior Concept

I made a simple floor plan layout for the interior treehouse to show the proportions and sizes of the walls and areas where props and items could be placed.
The image itself is rather empty and doesn't include many props, but thats down to Karl to figure out and decide as he is primarily working on them at the moment. It's also good to see the space in which the characters will be placed so we can see more clearly how the characters will be positioned and where the cameras will be set up.

Sunday 2 January 2011

We did it!!!!

We did it!! we finally did it, we finally figured out the ending to our story, it too long enough but it's ready to be worked with now. I've altered the storyboards and also re-edited the animatic for it as well so we can all see what happens now. Personally I don't find it as interesting as our original story, but it gets us through with a beginning, middle and end so I can't complain really, I just wish we could've done our original idea.

The storyboard above has been changed from the 2nd panel on the 5th row onwards until the 3rd panel on the last row which has completely cut out the nightmare sequence.


Above is the revised animatic which also shows the new ending. The sound effects are repeated a lot and don't properly represent what we wish to achieve, especially with the roar, but it will do for now. I'm just happy we can start moving forward again fall speed and get on with the production work properly.