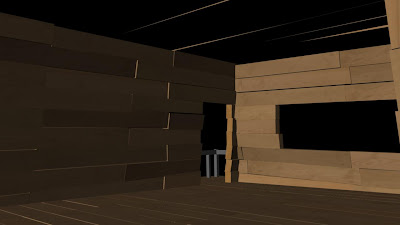
The interior treehouse didn't take too long to finish, I showed Karen how to UV map so that she could help me out and lighten my workload a bit so she UV mapped all of the wooden planks in the treehouse for me. All I had to do was texture them. As there is over 100 wooden planks making up the house it would be impractical to make individual textures for each of them, so I made four different textures and when I assigned them to the wooden planks I manually altered the UV's and positioned them differently so textures would be flipped, rotated and look like completely different textures for each plank. Below are the four textures for the planks that I made. Each one using photographs taken from one of the fences in my garden which has been the source for a lot of my materials.
Plank Texture 01
Plank Texture 02
Plank Texture 03
Plank Texture 04

Getting the textures applied to each plank was a long and tedious process which took around a week for me to finally complete, the hardest part was to make sure that I didn't put the same texture next to itself and to not repeat any patterns, I managed to do it all without any problems and the results are what we were hoping them to be.
For the tree I played around with a bump map for it, because this is a closed in and closeup environment I thought it would work well to help bring out the detail of the tree bark, the image above shows the first test that I did.
Karen felt that that bump map in the first image was too strong and that the settings were too high, so I went back and altered it so that it was a little softer and smoother looking, now that I changed it I can see how much better it looks and notice that it matches everything else a lot more. With the environment now finished I can start working on the props for the treehouse.


No comments:
Post a Comment